
STEM Learning: Building microscopes and understanding the science of light
- Feb 23, 2019
- 3 min read
Wednesday 21st November 2018
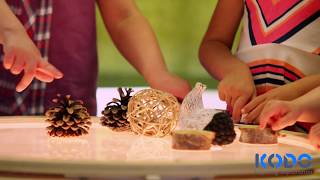
A flower bud, a pinecone, a puddle – these all seem like normal things, without surprises. Yet, if you could see the beauty of a flower bud, the hidden shapes of shells, the variety and the strangeness of the tiny patterns that cover a pinecone, you would surely be amazed. You will notice that you are surrounded by a fascinating and unknown world. The microscope is the right tool to take you into this amazing world, where you will discover an unknown dimension, that of the microcosm.
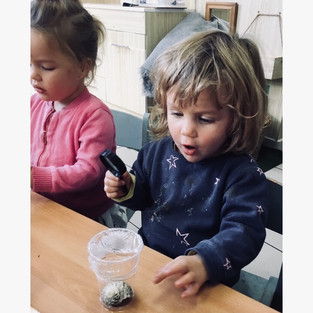
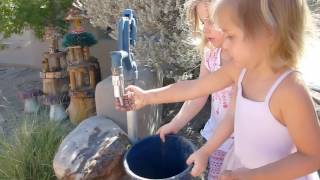
Our group today, had the challenge of building a water microscope. Water microscopes can be built quickly. Looking through the water, our children had a go at magnifying an image and used our microscopes to read small newspaper print as well as objects we found in nature.
This week’s craft project was very easy to put together, however getting it to work well took a little bit of inventive tinkering. Our children’s persistence paid off as they were determined to finish what they began. It was really neat to see how common objects and and parts of nature look at a microscopic level. The materials we used to construct our microscopes included:
+ Short clear plastic cups
+ Craft knife, plastic wrap and rubber bands
+ Syringe (an old children's medicine dropper works great)
+ Water
+ Several small objects to look at (leaves, flowers, shells, pinecones, tiny newsprint, etc.)
+ Flashlight and a Magnifying glass
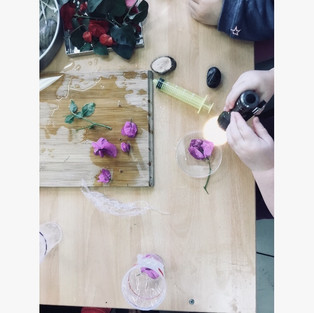
We began by using a plastic cup that was neatly cut off the bottom —we found that it needed to be as flat and even as possible to work. From there we stretched a piece of plastic wrap over the top of the cup and secured it tightly with a rubber band. Next, we used our syringe to put a few drops of water in the middle of the plastic wrap. We were aiming for a water “lens” that’s a little bigger than a ten cent piece. We carefully lifted the cup, disturbing the water as little as possible, and placed one of the small objects that we collected under it.
We had our partner hold the flashlight over the cup to illuminate the object, then move the magnifying glass up and down, looking through both the magnifying glass and the drop of water until the object came into focus. We experimented with getting the focal length just right. We did this by adjusting the height of the magnifying glass or by adjusting the height of the object we were looking at. Our children were able to perfect their technique and were able to start seeing new objects from a different perspective.
We were able to observe the features of objects such as hair, wool threads, onion skin, salt, sugar, and pencil shavings. We asked, “How does the microscope work?” Michael answered, “It makes things look bigger, you look in the water.”


Now you may ask, how does a microscope work?
Essentially, a microscope is just a lens. You can see the principle quite easily by looking through a tiny drop of water. First you will need to know that there are two types of lenses - convex and concave. A convex lens is thicker in the middle and magnifies things. Concave lenses are thinner at the middle and make things viewed under them smaller. A microscope is made using two convex lenses, one in the eyepiece and one closer to the specimen being viewed. In our DIY microscope we use a drop of water as a lens. It’s convex shape magnifies items viewed through it. To magnify the image even more, we use a magnifying glass which acts as the eyepiece lens.


We used our microscopes upstairs for ongoing study. We asked, “What bugs can you find?” “How are the colours of the leaves changing?” With our new microscopes, we could really observe the world up close. We believe children should have confidence in understanding how things work and use their knowledge to solve problems. Making their own tools and materials is a wonderful way to nurture this trait and gives children a hands-on understanding of the components that make up some everyday items.


To make your own microscope at home, please refer to the following link:


Comments